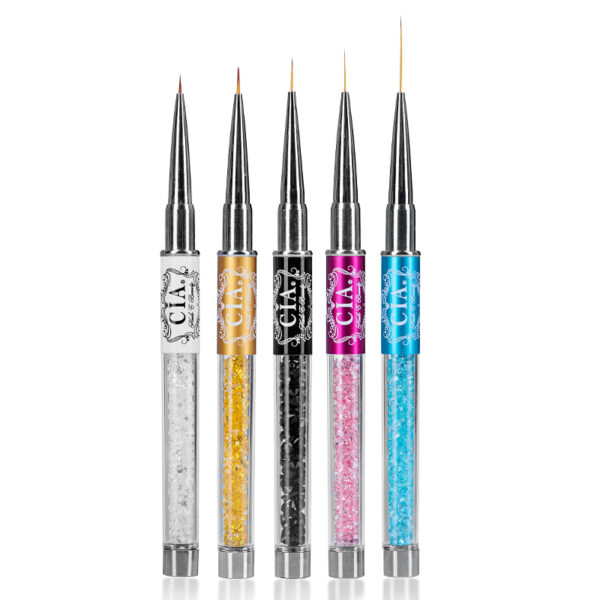
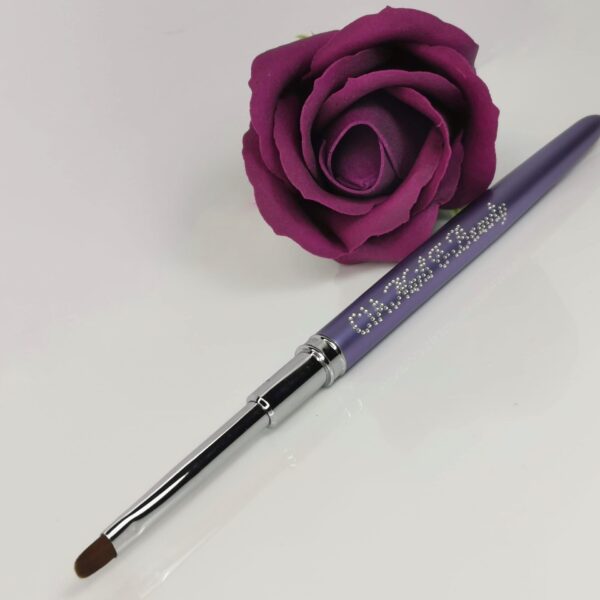
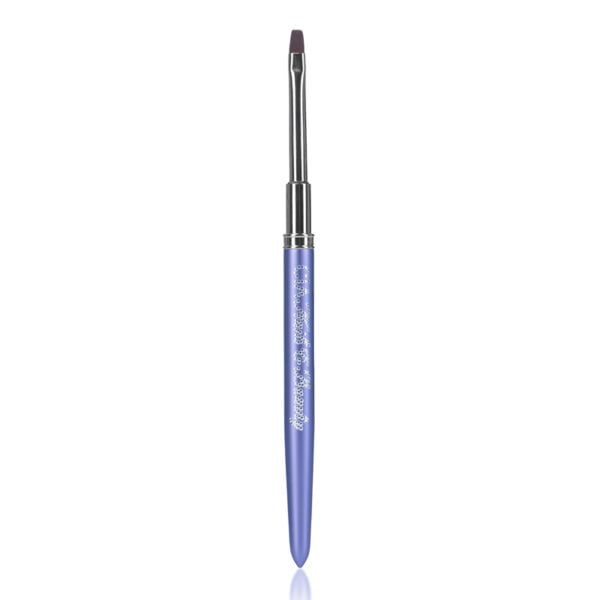
As an expert in nail care, I understand the importance of maintaining your acrylic and gel nail brushes to ensure their longevity and performance. Proper cleaning not only extends the life of your brushes but also ensures flawless application every time. In this comprehensive guide, we’ll walk you through the essential steps to keep your brushes in pristine condition. From gathering the necessary cleaning supplies like acetone and lint-free wipes to the meticulous process of removing excess product and deep cleaning, each step is crucial. We’ll also cover the importance of rinsing, drying, and reshaping your brushes, along with maintenance tips to avoid common pitfalls. By following these expert recommendations, you can trust that your brushes will remain in top-notch condition, ready for your next nail art masterpiece.
Gather Your Cleaning Supplies
When it comes to keeping your acrylic and gel nail brushes in top-notch condition, having the right cleaning supplies is non-negotiable. Start by assembling the essentials: acetone, lint-free wipes, a small glass container, brush cleaner, and paper towels. Each of these items plays a crucial role in ensuring your brushes remain in pristine condition. For instance, acetone is indispensable for breaking down stubborn gel residue on your brushes, while lint-free wipes prevent any unwanted fibres from sticking to the bristles. You might also want to consider some optional items to make the cleaning process even more effective. Cuticle oil can be used to condition the bristles after cleaning, ensuring they stay soft and flexible. A small brush comb can help you meticulously remove any remaining debris from the bristles. By investing in these supplies, you’re not just cleaning your brushes; you’re extending their lifespan and maintaining their performance. Trust me, your brushes—and your clients—will thank you.
Pre-Cleaning: Removing Excess Product
Before diving into the nitty-gritty of cleaning, it’s crucial to start with pre-cleaning by removing any excess acrylic or gel from your brushes. This step is often overlooked, but it’s vital for maintaining the longevity and effectiveness of your tools. Product build-up can lead to hardened bristles, making it nearly impossible to achieve a smooth application in future uses. To begin, take a paper towel and gently press your brush against it. The goal here is to remove as much product as possible without damaging the bristles. This simple action can make a world of difference. Imagine trying to paint with a brush that’s clogged with dried paint—it’s the same concept. By ensuring your brush is free from excess product, you’re setting yourself up for a much easier and more effective cleaning process. In a case study involving professional nail technicians, those who consistently performed this pre-cleaning step reported significantly fewer issues with brush maintenance. They found that their brushes lasted longer and performed better, ultimately saving them time and money. So, don’t skip this essential step; your brushes will thank you!
Deep Cleaning: Using Brush Cleaner or Acetone
When it comes to deep cleaning your acrylic and gel nail brushes, using a brush cleaner or acetone is a game-changer. Start by filling a small glass container with your chosen cleaning solution. For optimal results, soak the brush for about 5-10 minutes. This allows the cleaner to penetrate and break down any stubborn product residue. While the brush is soaking, gently swirl it around in the solution. This helps to loosen any remaining product that might be clinging to the bristles. For instance, you can soak the brush for 5 minutes, then gently swirl to dislodge any stubborn residue. This method ensures that your brushes are thoroughly cleaned without damaging the delicate bristles. Here’s a quick comparison of using brush cleaner versus acetone:
| Cleaning Solution | Effectiveness | Time Required | Pros | Cons |
|---|---|---|---|---|
| Brush Cleaner | High | 5-10 minutes | Gentle on bristles, effective | Can be more expensive |
| Acetone | Very High | 5-10 minutes | Highly effective, readily available | Can be harsh on bristles |
By following these steps, you’ll ensure that your nail brushes remain in top condition, ready for your next manicure session.
Rinsing and Drying Your Brushes
When it comes to rinsing your acrylic and gel nail brushes, it’s crucial to use warm water. After soaking, gently rinse the brush to remove any remaining product. This step ensures that no residue is left, which can affect the performance of your brushes. Once rinsed, the next step is to reshape the brush bristles. This is important because it maintains the brush’s original form, ensuring it performs well during your next use. To dry your brushes, you have two options: lay them flat on a paper towel or hang them upside down. Laying them flat helps to avoid water seeping into the ferrule, which can loosen the glue and damage the brush. Hanging them upside down is another effective method to ensure that water drips away from the bristles. By following these steps, you can extend the life of your brushes and keep them in top condition. Remember, proper care and maintenance of your brushes not only save you money but also ensure that your nail art remains flawless.
Maintenance Tips for Long-Lasting Brushes
When it comes to keeping your acrylic and gel nail brushes in top-notch condition, regular upkeep is non-negotiable. Regular cleaning schedules are essential; ideally, you should clean your brushes after each use to prevent product build-up. For a more thorough cleanse, a weekly deep clean can work wonders. This not only extends the life of your brushes but also ensures that your nail art remains flawless. Proper storage is another crucial aspect. To maintain the shape and integrity of the bristles, always store brushes upright in a holder. This simple step can make a significant difference in keeping the bristles in perfect condition. Avoid common pitfalls like using harsh chemicals, which can damage the delicate bristles. Instead, opt for gentle cleansers specifically designed for nail brushes. By following these maintenance tips, you’ll not only prolong the life of your brushes but also ensure that your nail art remains impeccable. Remember, a little care goes a long way in maintaining the quality and performance of your acrylic and gel nail brushes.

 Nail Courses
 Lash & Brow Courses
 Make up Courses
 Skincare & Aestetics Courses
 Waxing Courses
 Massage Courses
 Weight Loss Courses
 International Qualification